12V Guru
12V Guru – Optimising your Solar Power System
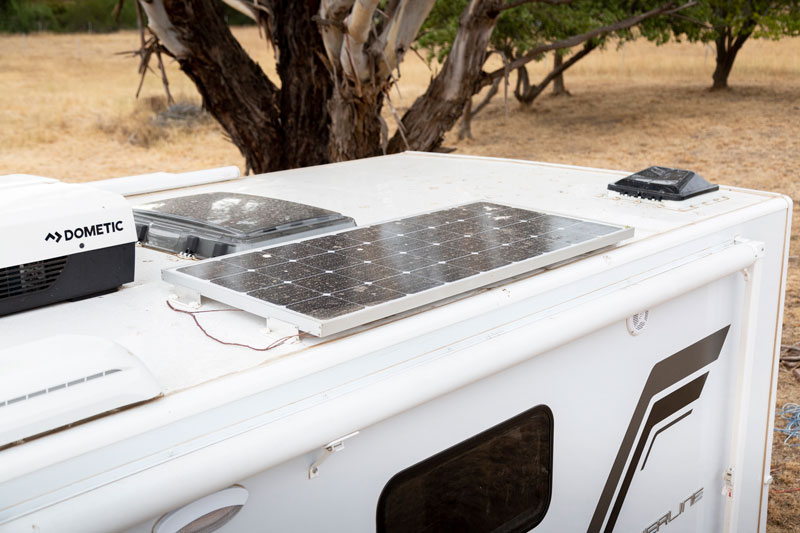
Solar Panels installed on your vehicle roof? Our 12V Guru discusses how to optimise their performance in place of buying more panels


Solar Panels installed on your vehicle roof? Our 12V Guru discusses how to optimise their performance in place of buying more panels
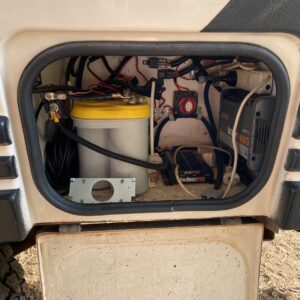
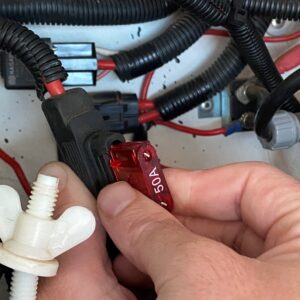
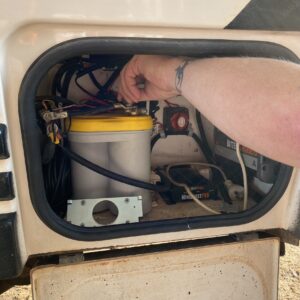
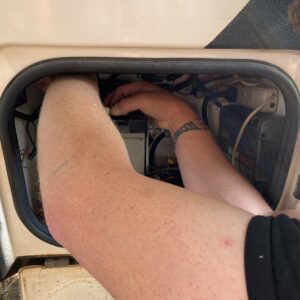
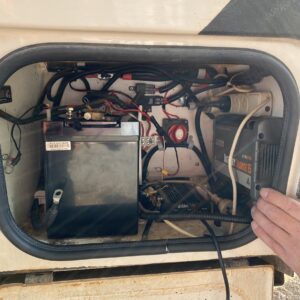
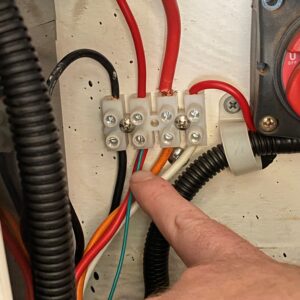
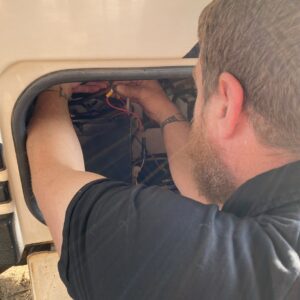
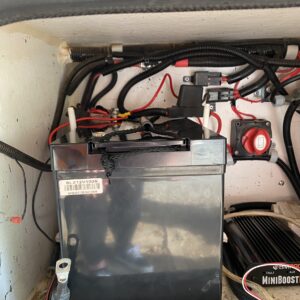
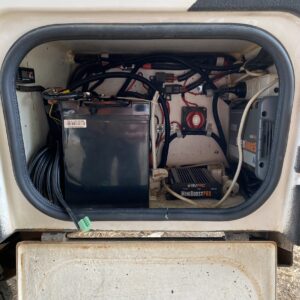
Looking at installing your own 12V products such as a DC-DC charger and shunt? Our 12V Guru discusses connectors and what you need to know here
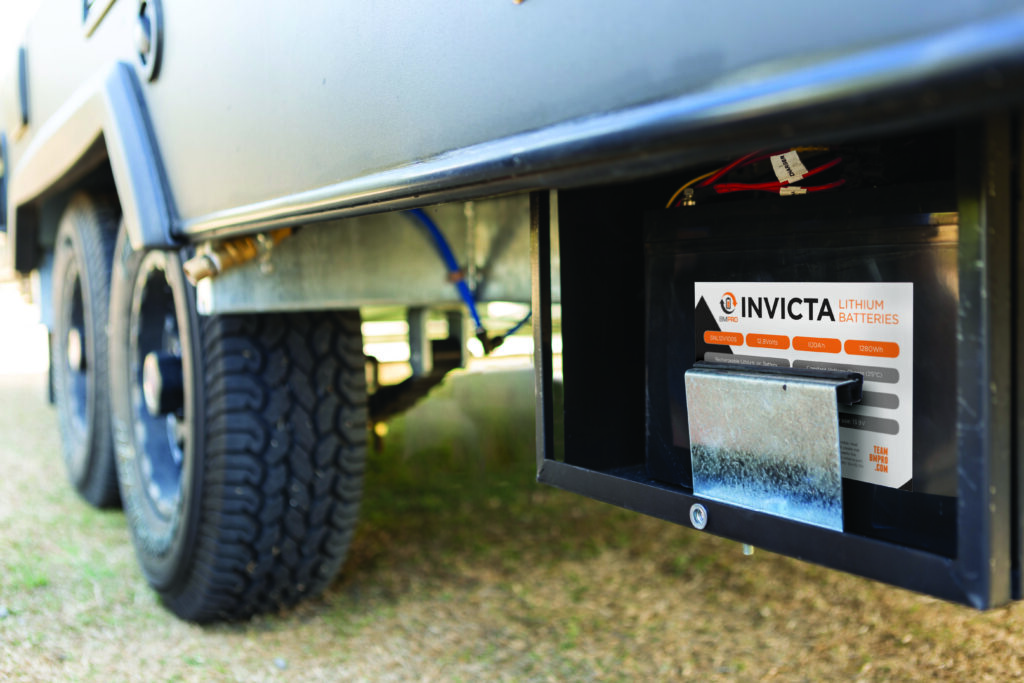
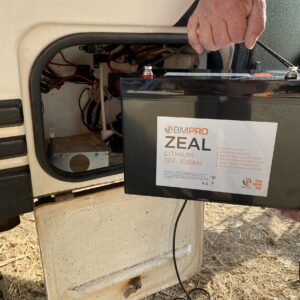
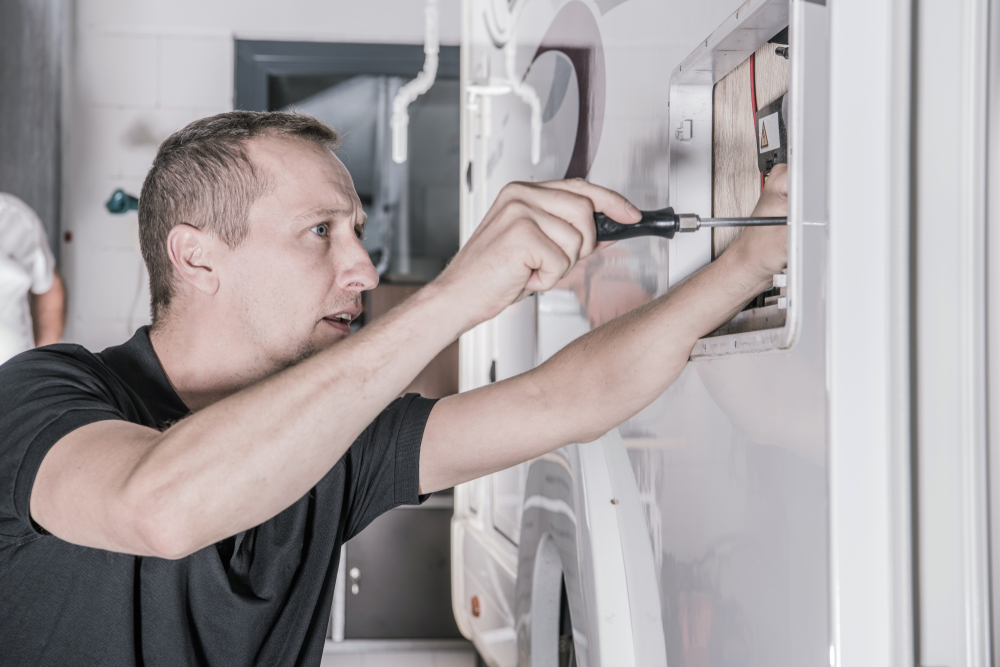
This is a guide to help understand the requirements of the new standard in relation to lithium battery