Dual battery system – two is company
Improve your power supply at camp with a second vehicle battery for high-draw appliances.
All vehicles have a 12V starter battery to run all the vehicle’s electrical functions and, unbeknownst to some, that same starter battery can also be used to power some 12V devices such as fridges and extra lights when you are camping. This is a slippery slope, however, and one that has the potential to create a disaster as fridges, in particular, can be a huge drain on a battery and may flatten your starter battery, leaving you stranded in the middle of nowhere!
So a dual battery system for your vehicle could be the answer to your problems, whether or not you’re towing a caravan or camper or just car or tent camping. This system leaves your starter battery for its most important functions and enables the second, or auxiliary, battery for any extra loads or accessories. This would usually be a deep-cycle AGM, gel cell, or lithium (LiFePO4) battery.
PRACTICAL REQUIREMENTS
Location
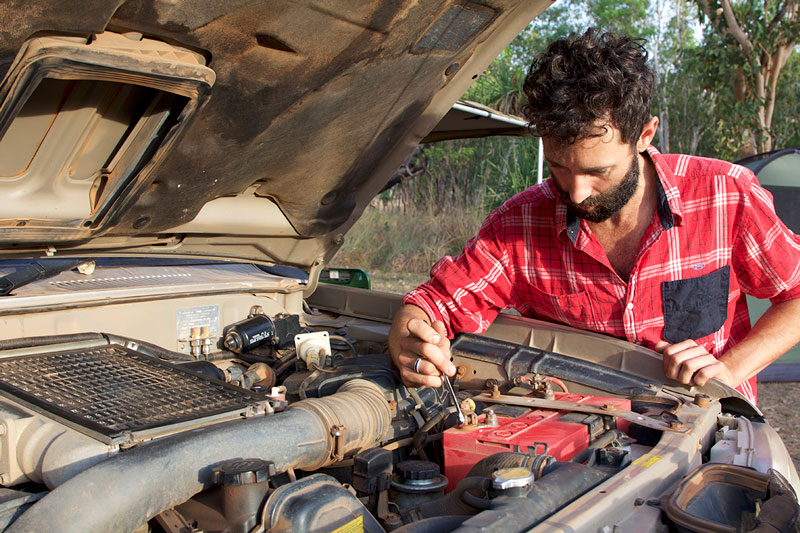
There are a few things to consider prior to installing a second or auxiliary battery in your vehicle. The first is where you plan to put it. Many large, modern 4WDs are actually designed to hold a second battery in the engine bay, which makes it easy, but, if not, you need a safe and secure location.
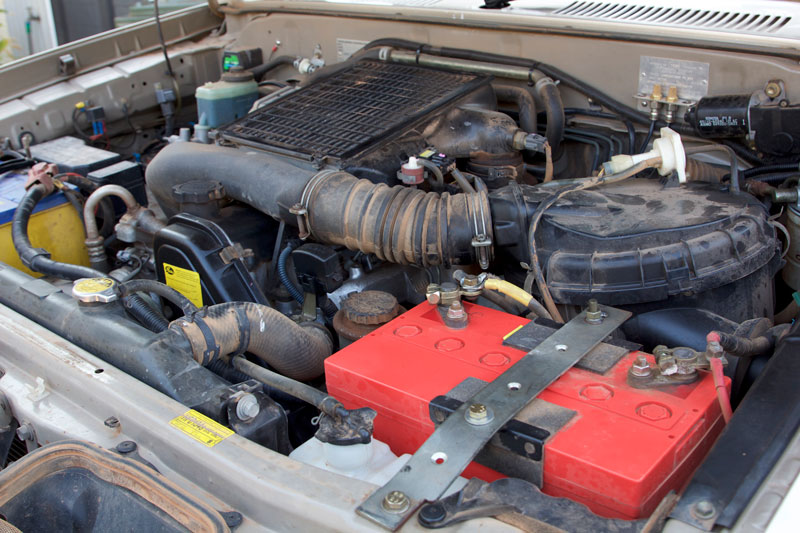
Any battery installation, especially in the engine bay, must have a strong steel tray with good mounting points. Vibrations from travel on dirt roads can cause considerable damage and batteries are heavy, so reinforced mounting points are the preferred option.
From a physics point of view, an engine bay is not the ideal location for batteries, as they are vulnerable to heat damage. Practically speaking, they also need to be as far as possible from the exhaust pipe/s so it is a reasonable compromise. Electrically, the closer together the batteries and alternator are, the better.
Charging and switching
While both batteries can be charged from the same source (ie, the vehicle alternator), they’ll need to be switched separately, either mechanically or electrically, so that only the second battery supplies the auxiliary load, not the starter battery or even both batteries.
INSTALLATION
Installing a second battery in a vehicle isn’t too difficult but you’ll need some handyman skills as well as a basic understanding of 12V auto-electrics – a mistake could be an expensive fix. If you’re not confident doing the installation yourself, always ask a professional.
If you do plan to DIY it, you’ll need electrician’s pliers, crimping tool, socket set, screwdrivers, power drill and a digital voltmeter.
The good news is that purpose-built battery trays and even full wiring kits are readily available from auto-parts suppliers such as TJM, Jaycar ARB and Supercheap Auto, so the mechanical and electrical installation is relatively straightforward. Individual kits will differ slightly, so the advice provided below is generic and not for any particular vehicle.
Electrical connections
One of the benefits of buying an installation kit is that all the components are usually included, such as the battery tray, cable lengths, copper crimp lugs, solenoid isolator and battery terminals. 12V fuses or circuit breakers with a rating of around 100A should also be included. The circuit/breakers/fuses will protect against a short circuit very close to the battery – something that could be both dangerous and expensive. Cable sizing is also important — consider at least 10mm2 and preferably 13.5mm2 for the conductor to keep voltage drop to a minimum. That’s even more crucial in a vehicle where the auxiliary battery is located somewhere other than in the engine bay (ie, further away from the alternator).
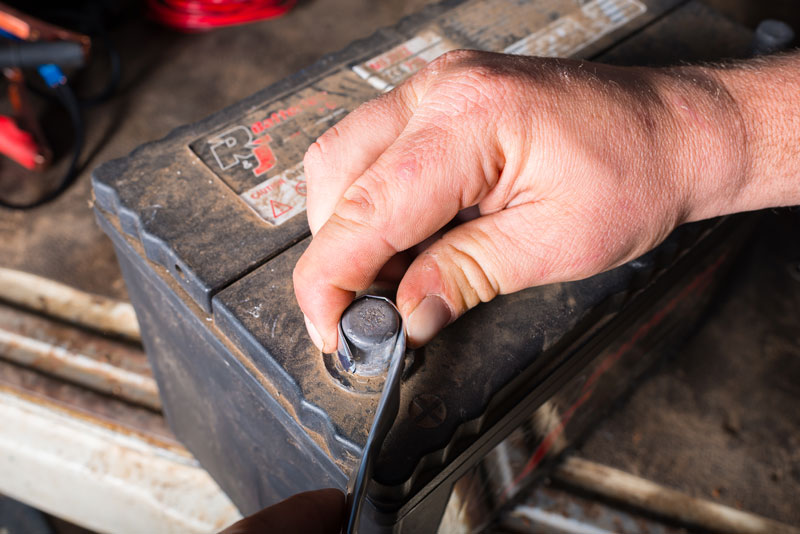
The heavy duty cables should be used to parallel connect the batteries – i.e. positive to positive and negative to negative. In addition to the fuses in all the 12V positive cables, the battery isolator/solenoid between the positive terminals is an important addition. The best ones these days are Voltage Sensitive Relay (VSR), instead of just a simple solenoid which operates when the vehicle engine is turned on and off. When a vehicle is first started, the VSR will not close to charge the auxiliary battery until the starter battery reaches approximately 13.3V. When the engine is switched off, once the battery voltage drops to about 12.8V, the VSR drops out and the auxiliary battery only supplies the power needed. Some VSRs function both ways so that if you connect a solar panel, it can charge the vehicle starter battery as well.
When the installation is complete, it’s a good idea to get out the digital multimeter and take a few voltage measurements across both batteries, with the engine running and then switched off.
Like this Post? Share it!